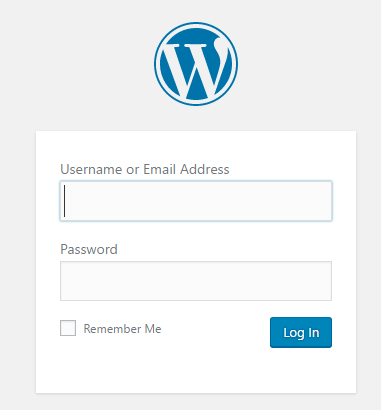
Step 1:
Log in to your WP Admin panel.
yourdomainname/admin
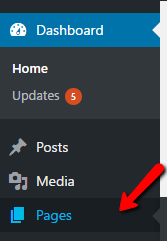
Step 2:
Select “Pages” from the WordPress admin menu.
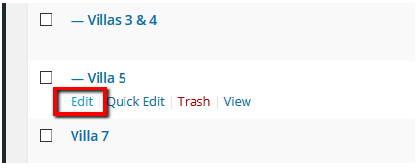
Step 3:
Choose the page you want to edit.
(Click on the page’s title, or the “Edit” button in the menu that appears when you hover over the page in the list.)
Step 4:
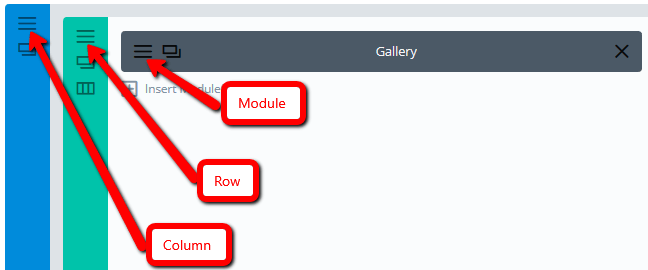
Using the Divi Builder:
This is made up of Sections (blue), Rows with columns inside (green), and Modules inside that (grey). The icon of 3 horizontal bars is the “Edit” menu of each bit. You want to edit the “Gallery” module.
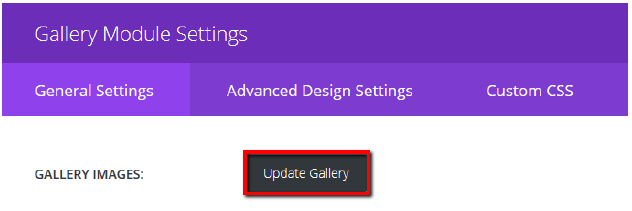
Step 5:
Click on “Update Gallery”. (This is the only setting you want to change for updating images only.)
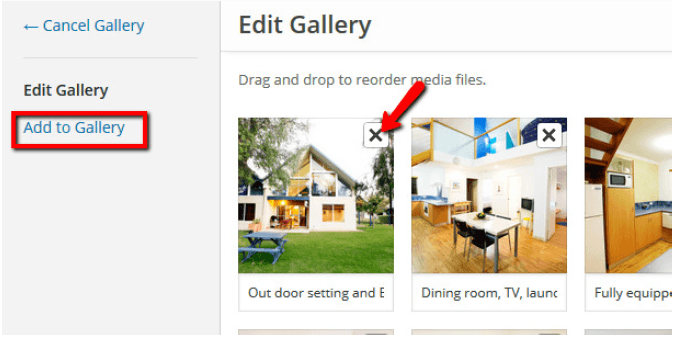
Step 6:
You will now see a menu where you can:
a) Remove images by clicking the “x” in the top right corner;
b) Add photos by clicking “Add to Gallery”.
Step 7:
“Add to Gallery” takes you to the media library. You can select images you have already uploaded to the media library, or click “Upload Files” to directly upload some new ones.
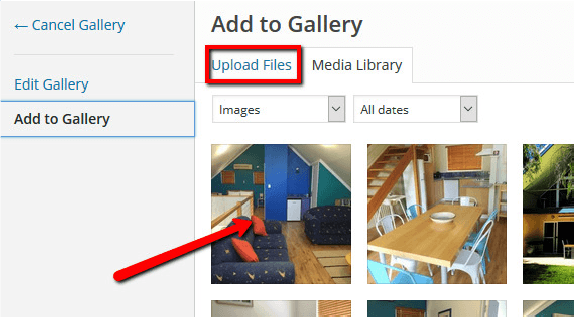
Click on “Add to Gallery” once you have selected any new images.
![]()
Click on “Update Gallery” when you have finished updating your images and dragging them into your desired order.
![]()
Then click “Save & Exit” to exit the module with your changes made.

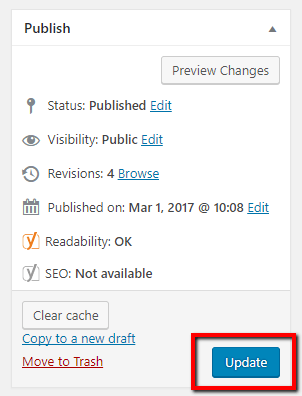
Step 8:
Finally, click on “Update” in the “Publish” box to save and publish your changes.
(If you wish, you can “Preview Changes” first, but you will still need to click on “Update” to save.)