Divi theme comes with 360 icons (you can find a preview of all the Divi icons here). You can use them, for example, in the blurb modules. But what if you wanted to use a different icon? For example, if you cannot find a suitable icon within the Divi ones. Or you may want to add icons to your menu links. This is not possible with the default Divi settings, but can be done with some custom coding. Here’s how you can do it with Font Awesome:
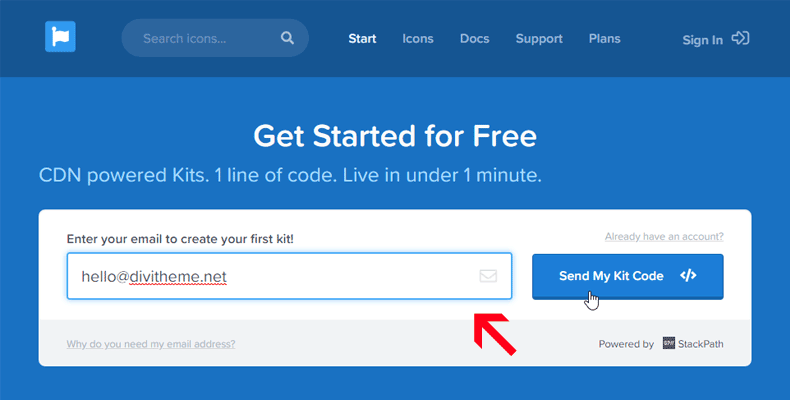
First you will need to create a Font Awesome kit on their website. Just go to https://fontawesome.com/start, enter your email and click on the “Send My Kit Code” button.
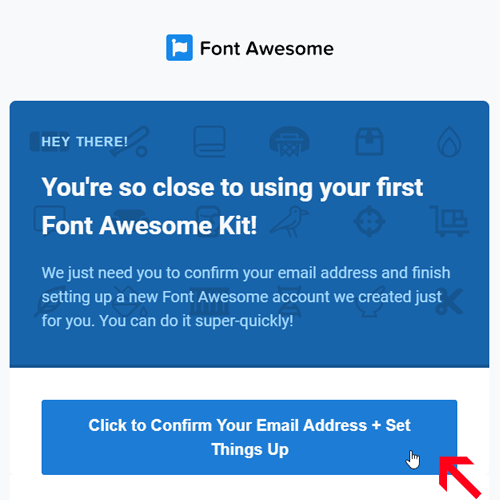
After that you will receive an email from Font Awesome. You need to open it and click on the “Click to Confirm Your Email Address + Set Things Up” link in it to verify your email address.
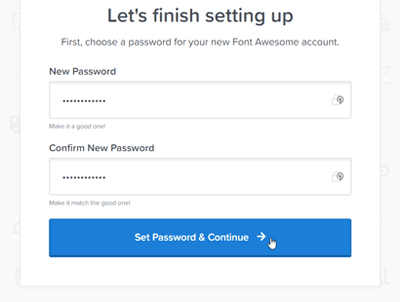
Now you will need to set your password for your new Font Awesome account.
Enter the following details and click on the blue button.
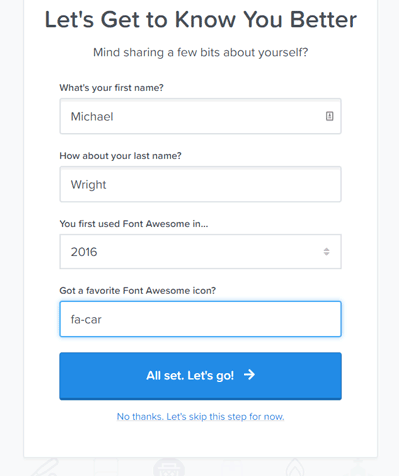
Your Font Awesome account is created.
Now you will need to copy the kit code by clicking on the blue “Copy Kit Code” icon.
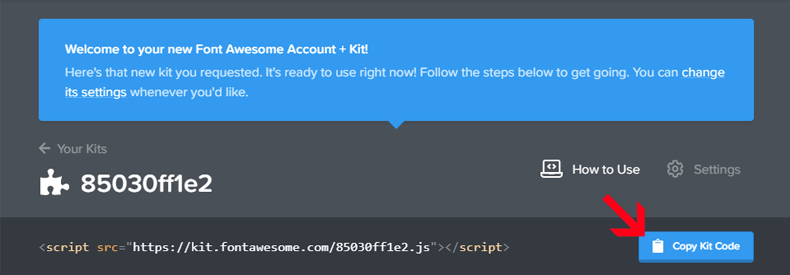
You will need to enter this code into Divi Theme Options > Integration > Add code to the < head > of your Divi website.
Also make sure you have the option “Enable header code” enabled.
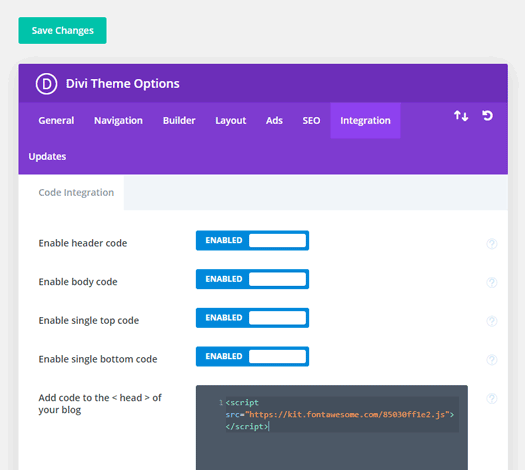
Now you will be able to add a Font Awesome icon (or more icons) to your Divi website.
To do so, look up the particular icon that you want to use on the “Icons” page of the Font Awesome website. Icons available with a free account are in dark grey. Icons requiring an upgraded “Pro” account are in light grey. Click on the icon you wish to use.
![]()
With the desired version selected, copy the icon code (at top or via “Start Using This Icon” button) and insert it into a Divi code module.
![]()
For example, we will use this one:
<i class=”fas fa-address-book”></i>
It will add a nice address book icon to our website.
![]()
Note on Text fields and Modules:
You can also use the Font Awesome icon codes in a WordPress text field, however it can be fickle. When you switch back and forth from the text to visual tab in WordPress, because it may replace the empty <i> tag with a “ ” code. And that would cause your code to not work.
But the likely scenario when using it in a text field is in place of a list, like this.
To get this effect, we’ve just added the text in between the opening and closing <i> tags, like this:
<i class=”fas fa-address-book”> Add your text here</i>
Note on Style:
Font Awesome icons will inherit the body text style (size and colour) that is set in your “Divi>Theme Customizer – Typography” settings. If you want to change their style, you can do so with CSS.
Note on Menu Links:
We won’t properly cover menu links in this article. But you can actually simply use the font awesome code in your menu link labels:
![]()
For this effect:

However, we do find that the icon is slow to load and therefore not ideal. So if you need it, you may appreciate a simple way to achieve Font Awesome icons in menu links with a plugin and no need to learn code.
This is the end of this tutorial. We hope adding Font Awesome icons to your Divi website or blog will be a breeze now.