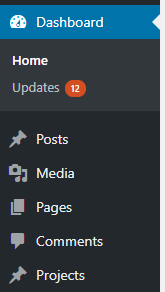
From the dashboard, the menu down the left will be where most of your edits will take place:
- “Pages” is where the top navigation pages are (Home, About, Features, Case Studies, Contact).
- “Posts” is where your blog articles are.
- “Media” is where your images are.
When logged in, you can navigate easily on the front end of the site, straight to any page or post you want to edit, and use the admin bar at the top.

When logged in, you can navigate easily on the front end of the site, straight to any page or post you want to edit, and use the admin bar at the top.
![]()
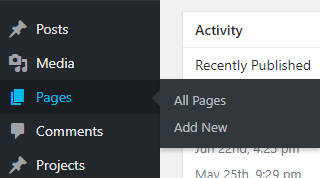
Within “Pages”, there is the option to add a new page, or to edit an existing one. (The same goes for “Posts”).

The Divi theme has a “Visual Builder” to log in and make changes live from the front end of the website, as well as a “Page Builder” graphical interface instead of the standard WordPress post editor.
A helpful overview can be seen here:
http://www.elegantthemes.com/gallery/divi/documentation/builder-overview-new/
If you don’t have 25 min to watch the video, just watch the first few minutes and the scan the show notes further down that page.
But the crux of getting started is to know this:
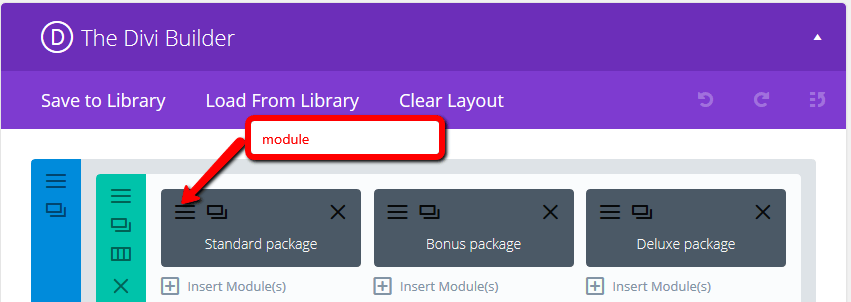
- There are Sections (Blue, or purple for special fullwidth sections).
- There are rows (Green).
- And there are modules (Grey).
Rows house the column layout.
Columns house the modules.
What you want to edit are the modules:

Navigate to the module you want to edit (use the admin labels to assist) and click on the 3 horizontal lines to edit.