Step 1:
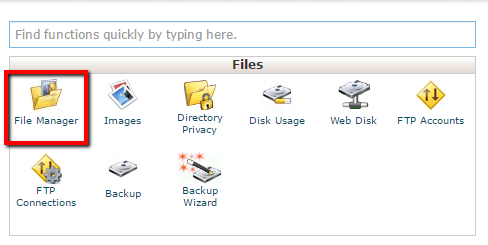
Log in to your website’s cpanel and click open the “File Manager”.
You could also access your site files via FTP (File Transfer Protocol) software if you are more familiar with this method.
Step 2:
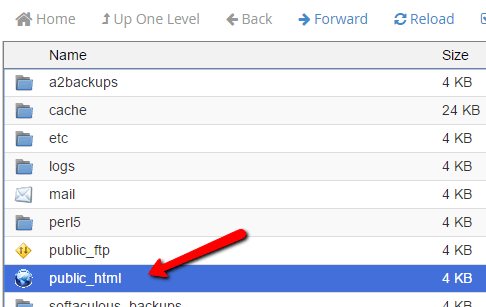
Open “public_html” (double-click).
Step 3:
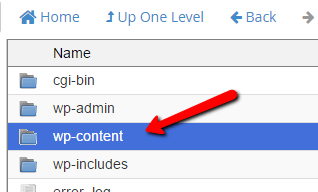
Open “wp-content” folder.
Step 4:
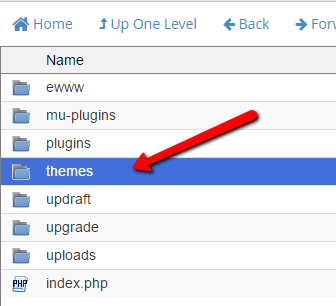
Open “themes” folder.
Step 5:
Click on “+ Folder” in the top menu.

Step 6:
Give your child theme a name and click “Create New Folder”.
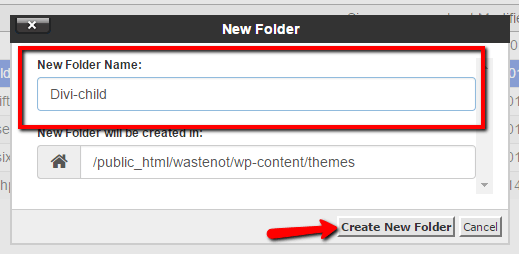
Step 7:
Open your new child theme folder.
(You may need to click “Reload” above the files/folders list.)
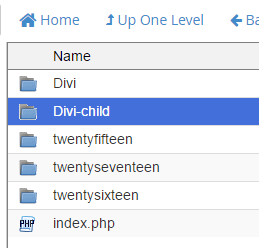
Step 8:
Click on “+ File” in the top menu.
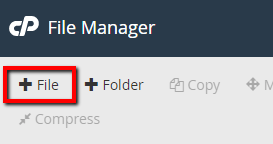
Step 9:
Create your child theme stylesheet by naming the file:
style.css
and clicking “Create New File”.
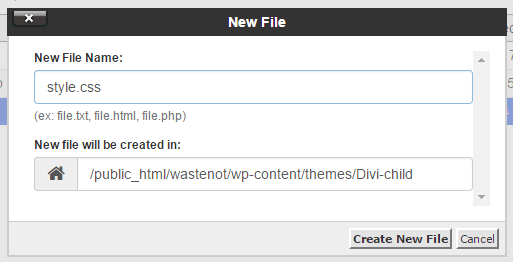
Step 10:
Right-click and “Edit” the new style.css file.
(You may need to click “Reload” above the files/folders list.)
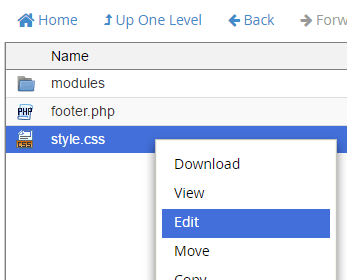
Step 11:
Add the following to the file:
/*
 Theme Name:     Divi Child Theme
 Theme URI:      http://www.elegantthemes.com/gallery/divi/
 Description:    Divi Child Theme
 Author:         Elegant Themes
 Author URI:     http://www.elegantthemes.com
 Template:       Divi
 Version:        1.0.0
*/

@import url("../Divi/style.css");

/* =Theme customization starts here
------------------------------------------------------- */
Your child theme with a stylesheet has now be created. You are now ready to activate it and use it (by adding custom CSS to the stylesheet, or adding more files and custom code).
Step 12:
Back in your WordPress site admin, navigate to Appearance>Themes.
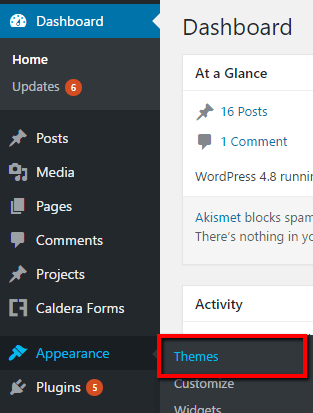
Step 13:
Activate your Divi child theme.
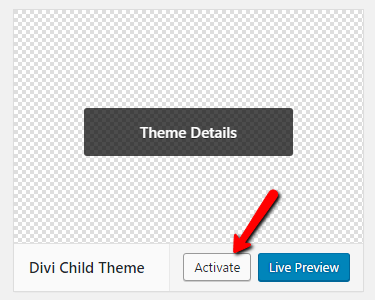
Step 14:
You can now navigate to Appearance>Editor to add your own custom CSS to your child theme stylesheet.

- When editing your theme files, ensure the child theme is selected.

- style.css is your stylesheet. As your child theme grows, you will likely add more theme files.

- Start writing your custom CSS below the stylesheet introduction.
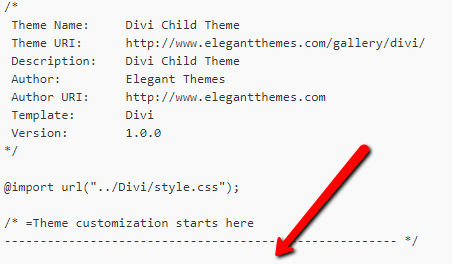
- Finally, save any changes by clicking “Update File”

Learn More…