Divi now has now made it really easy to use custom fonts on your website – no code required! So make sure you’ve updated the to latest theme version and follow these instructions:
Step 1:
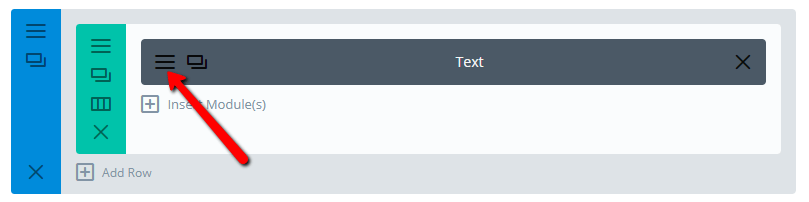
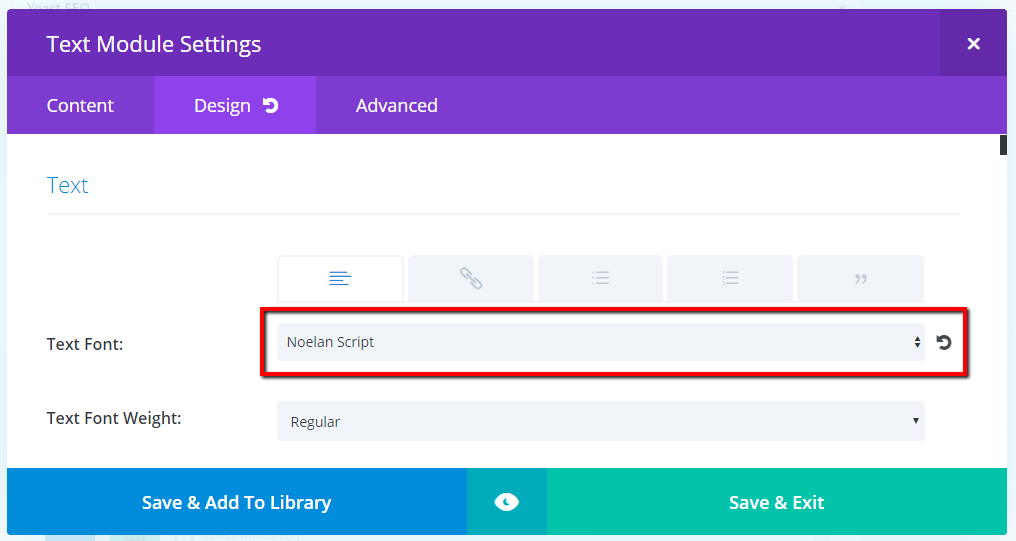
In any module with text on your site, click into the module settings.
Step 2:
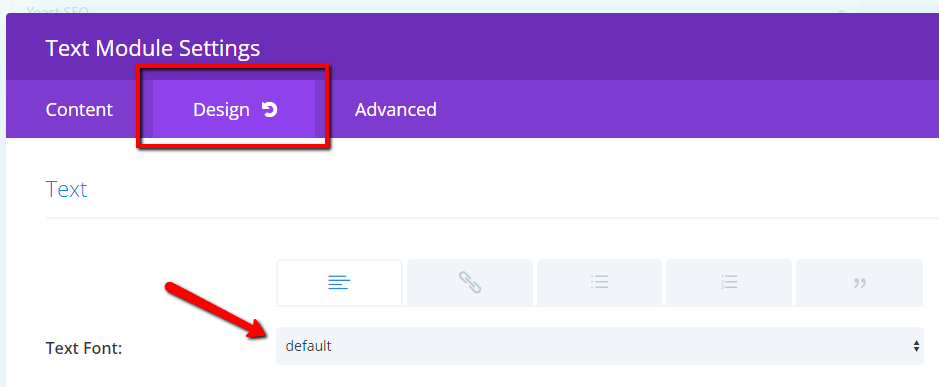
Click on the “Design” tab, then click on the font selector.
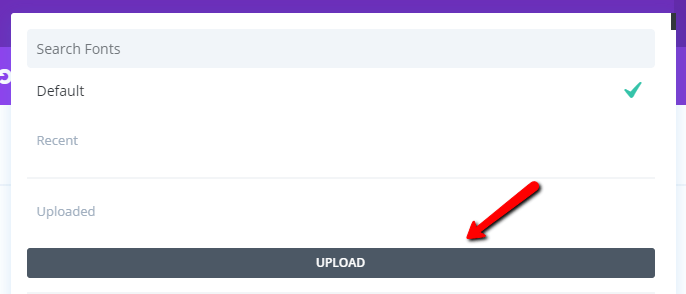
Then in the font options, click “UPLOAD”.
Step 3:
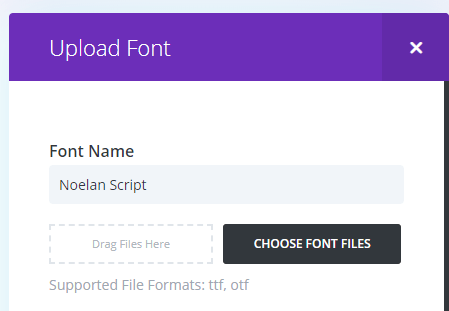
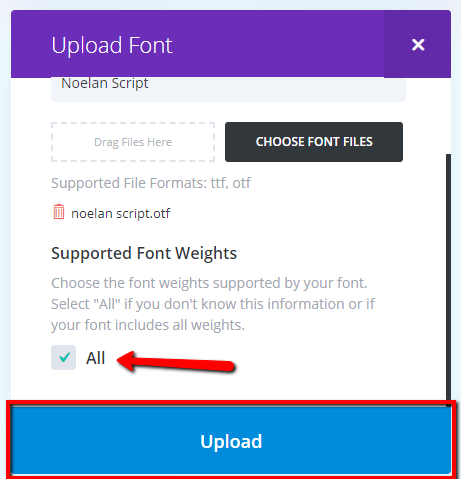
Write in the font name, then upload your font’s ttf or otf file.
TTF stands for “TrueType font” and OTF stands for “OpenType font”. You can see this written as the file type in your font files, if you’re not sure:
![]()
![]()
Once the font file has been uploaded, select the specific font weights you want supported (or leave as “All” for all). Then click “Upload”.
Step 4:
Your font is now uploaded. You can select it and save in your desired modules on a case-by-case basis. But to set it as a global font, don’t save it as a selected font (unselect it) in your module’s settings.
Instead, select and set your custom font globally in the Divi Theme Customizer using the instructions in the link below: