Before and After Module
Display two images in an interactive overlay
Unlimited Site License | Regular Updates | Simple WP Plugin Install


*Compatible with the Divi Theme Page Builder, and Elegant Themes Page Builder Plugin. Note that it does not currently render in the "Visual Builder", though you can still edit the rest of your page in there. We're working on this.
Introducing the Before & After Image Module
The Before and After module allows you to add two images for comparison right in the divi page builder.
Site users can then slide the handle from left to right, revealing more of the before or after image.
This fun interactive visual element boosts user engagement and time spent on your site.
Perfect for Showcasing your Services
You know that your products or services make a noticeable difference in your customers lives but aren’t sure how to show it?
The before and after module provides a fantastic space for you to showcase the quality work you can be proud of and potential customers can engage with.
Be in Complete Visual Control
Have total control of the look and feel of your Before and After image.
Why not have the before and after effect vertically for a change? Add the before and after labels for customer clarity. Position the starting position of the slider handle as you see fit.
All of this is doable without any coding!

Before and After Module Key Features
Here’s the run down on this great new module:
Compare two images
Touch screen friendly
Control all the display settings
Editing could not be easier
Because we are Divi users, we design and base all our modules on our experience using Divi, ensuring they are intuitive to those familiar with the interface.
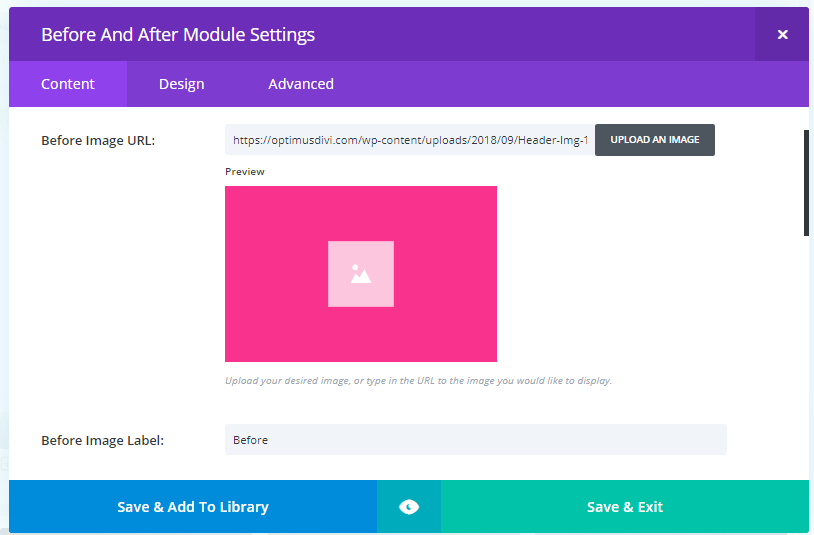
Step 1: Add Before Image

Step 2: Add After Image
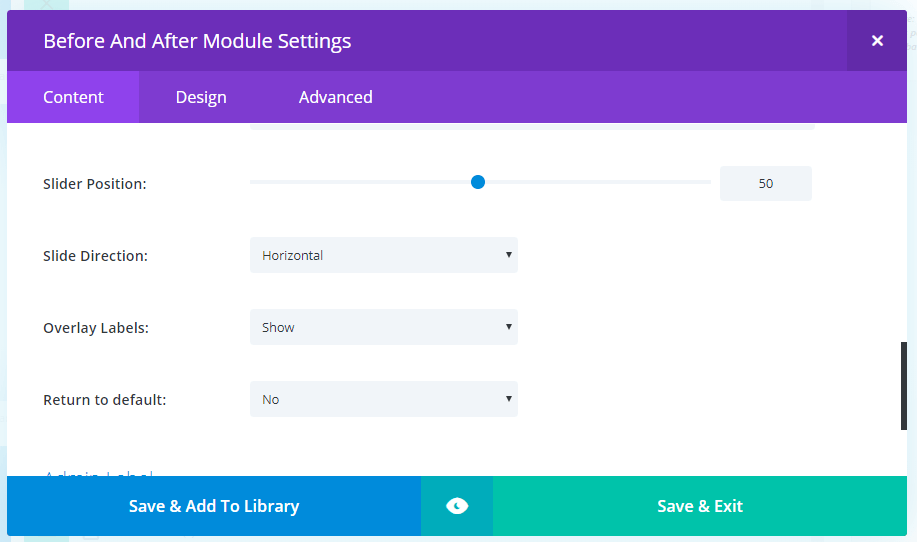
Step 3: Select Display Settings
Want to see it in action? Here are some real world examples:
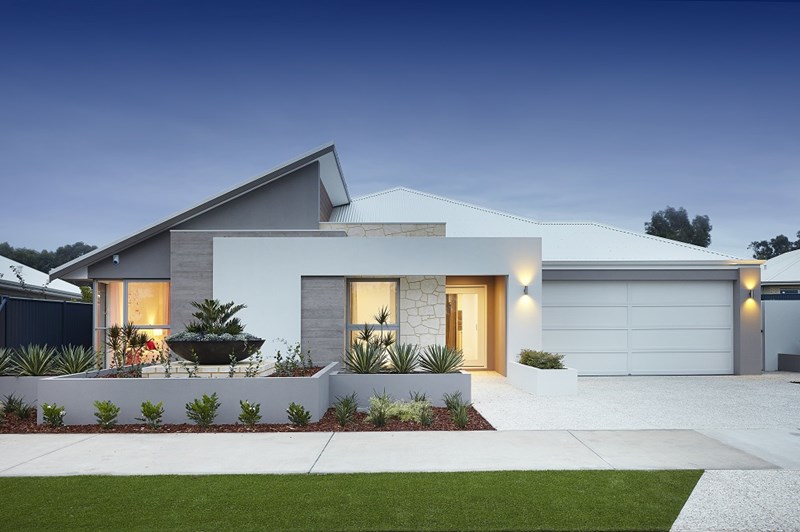
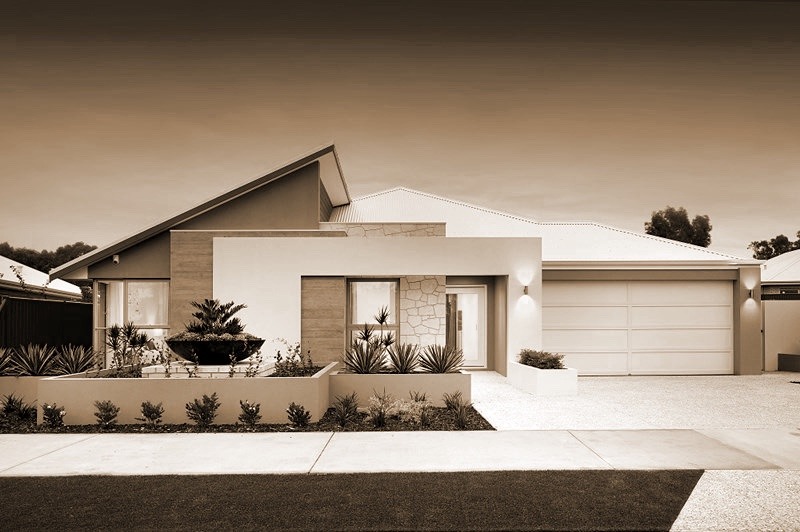
smerkdesign.com/photo-retouching for showcasing the work of graphic designer improving dull photos.
pullupstumps.com.au showing the difference that a quality stump grinder on the NSW Central Coast can provide on a customer’s lawn.
periodhomepointing.com.au/tuckpointing where it is used well to demonstrate the quality of heritage brick restoration by a group of trades that are often misunderstood. Tuckpointing, like so many things on the web, needs visual examples before and after to convince people of its effectiveness.
Before and After Module
Display two images in an interactive overlay
*Compatible with the Divi Theme Page Builder, and Elegant Themes Page Builder Plugin. Note that it does not currently render in the "Visual Builder", though you can still edit the rest of your page in there. We're working on this.